 |
Cybera installation guide
|
Install & set up Cybera WorkstationInstall Cybera Workstation Log into Windows as an administrator and run the provided Windows Installer for Cybera Workstation (cybera-client_1.9.exe). Follow the simple installer steps untill the program installation is finished. Switch Windows user and start Cybera Workstation Before starting Cybera Workstaion, you should :
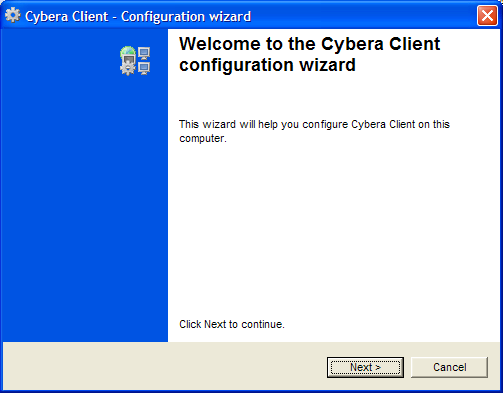
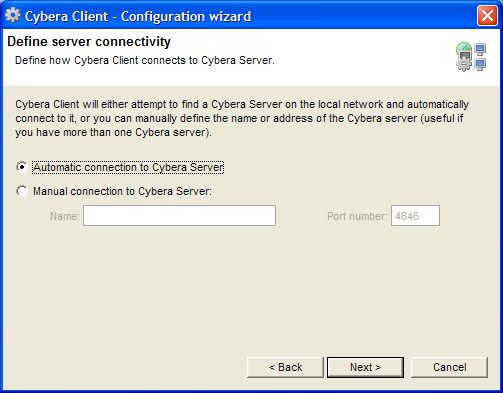
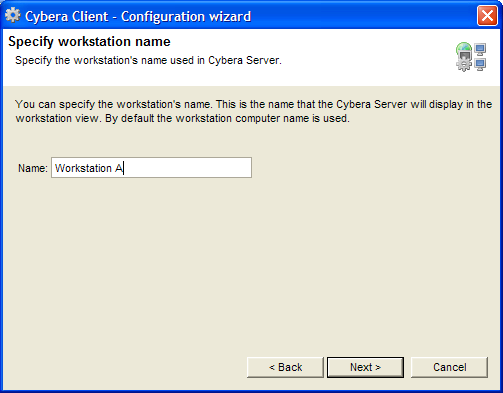
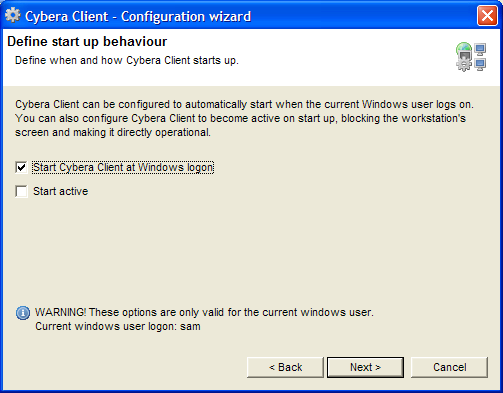
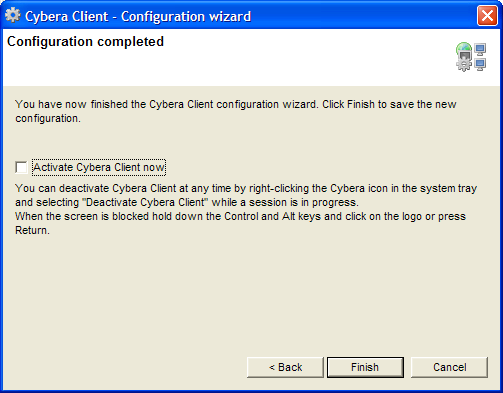
When Cybera Workstation is started for the first time a simple configuration wizard is run to help you set up the basic and vital aspects of Cybera. Cybera Workstation configuration wizard Server connectivity Cybera Workstaion is capable of searching for a Cybera Server on the local network and attempting to connect to it. This is de default option. It is also possible to choose Manual connection to the Cybera Server, in which case you need to provide the name or IP address of the cybera Server and the port on which to attempt to connect to (the default port is 4646). Click Next > to continue Workstaion Name In this step you can provide an personalized name for the workstation. This name will be seen on the server in the list of workstations of the Workstation view. By default the name of the workstation is the NETBIOS name of the computer. Click Next > to continue Define Cybera Workstation's start up behaviour Cybera Workstation can be configured to automatically start when the current windows user logs in. It is also possible to configure Cybera Workstation to activate directly when the program is started, blocking the computer screen and forbiding any un authorized usage of the workstation. These are both recomended options for the default windows user of your cyber café workstations. Click Next > to continue User rights policy This option allows or forbids Cybera Server to attempt to lock down the user rights of the currently connected windows user when the workstation connects to it. It is STRONGLY recomended to check this option in a production environment unless you are going to control user rights on the workstations by other means (Microsoft Active Directory for example). User rights lockdown can only work if you have folowed the guidelines for setting up your computers. Click Next > to continue Finished ! The Cybera Server Configuration Wizard is now finished. If you check Activate Cybera Client now the workstation's screen will be blocked and Cybera will be ready for it's first customer. Click Finish to continue. This will write all the new settings to disk and start Cybera Workstaion with your new configuration. | See Also... |
© 2006 Samuel Monsarrat |

This must be run by an administrator as Cybera has to be installed system wide for all users of the computer.
Binary Windows installers of Cybera are available from Cybera's sourceforge project web page.